How to make a multi-coloured pom pom
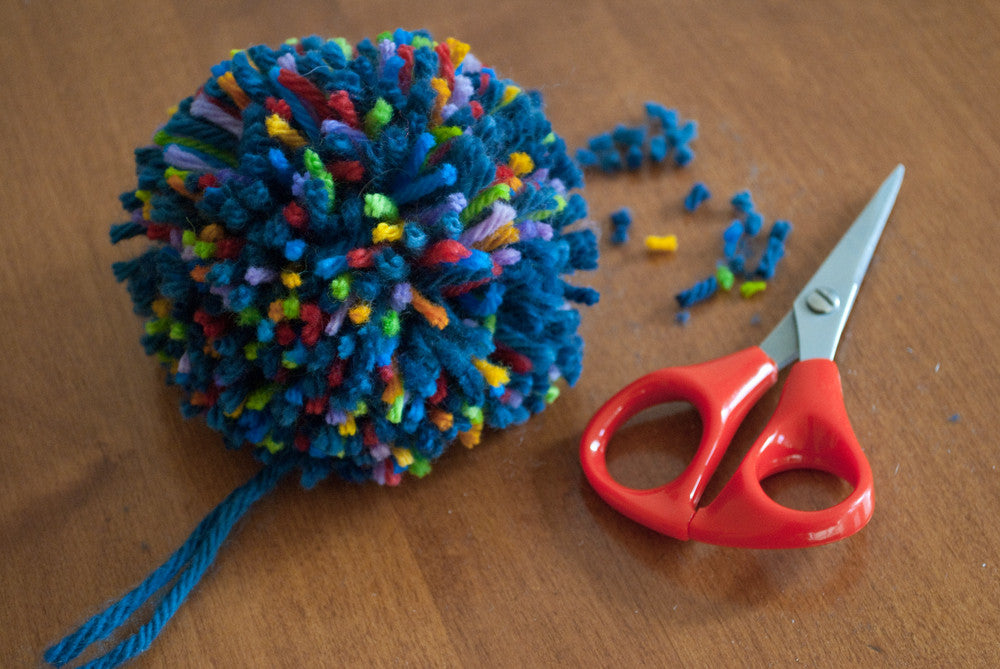
My latest knitting pattern is a warm winter hat in a bulky yarn, and I wanted to top it off with a pom pom. I had the idea that I'd make the pom pom multi-coloured to look like fireworks against the dusky blue yarn, and called the hat Hanabi, which means fireworks in Japanese (and also happens to be the name of one of my favourite card games).
I experimented a bit with getting the colours evenly dispersed, and was very pleased with the end result. This technique may seem a bit complicated at first but once you get going it's very straight-forward. The template I used (which you can download here) makes a pom pom about 3½" in diameter.
1. Gather all the supplies you'll need
You'll need:
- printed pom pom template
- cardboard (an empty cereal box or something similar works well)
- approximately 25-30 yards worsted or bulky weight yarn in the main colour
- approximately 3 yards in each of 5 contrasting colours, cut into 1 yard lengths
- glue stick
- scotch tape
- scissors (I used 2 different pairs - my sharp little ones for the yarn and a larger pair for cutting the cardboard)

2. Prepare your pom pom maker

Cut out the semi-circle templates and glue them both to the cardboard with the glue stick.

Once they're securely stuck down, cut the cardboard following the template. You'll have two identical semi-circle shapes. Cut a length of yarn in your main colour about 12 inches long.

Using scotch tape, loosely attach the yarn to the back of one of your template pieces as shown above. Make sure to keep the tape close to the straight edges of the template.

Fold the loose ends of yarn up on top of the template and put the second one over it with the paper side out (like a sandwich with the yarn in the middle). Tape the straight edges of the two sides together. Using your paper scissors, cut slots in both sides of your pom pom maker as marked. Now you're ready to make the pom pom!
3. Start wrapping

Pull the end of your main colour yarn through the slot on the left side of the pom pom maker and wrap it around, moving towards the right and keeping the wraps spread out and fairly even spaced.

Next wrap the yarn back toward the left, ending near the starting slot. This back-and-forth just makes it easier to hold the main colour out of your way while you wrap the other colours. If you're left-handed you may prefer to wrap right-to-left and back instead.
4. Add your colours

Pull the end of your first length of contrasting yarn into the left-hand slot, above the main colour.

Wrap this length of yarn around the pom-pom maker, moving toward the right and again keeping the wraps evenly spaced. Secure the end of the yarn in the right-hand slot.

Continue wrapping one colour at a time, securing both ends in the slots, until you've used one length of each of your contrast colours.
5. Keep layering
Once you've wrapped one of each contrast colour, add another layer of your main colour, wrapping it from left to right and back again.

Keep adding layers of the contrast colours and main colour until you've used all the lengths of yarn. End with a layer of the main colour. You'll get fewer wraps from each length of yarn as the pom pom gets fatter, try to keep them evenly spaced as you go.

6. Prepare to cut

Carefully slit the tape on one of straight edges of your pom pom maker. Open it up and pull out the end of the yarn that you sandwiched in there way back in Step #2. Remove the tape so that it can move freely. Repeat on the other side.

Pull both ends of the yarn towards the centre as far as you can and knot them loosely together. You'll need to keep holding these ends and tightening the knot as you cut your pom pom so that it doesn't fall apart.
7. Cut your pom pom
First, unhook the ends of all the lengths of contrast yarn from one slot and trim them so they're flush with the edge of the pom pom maker.


Like this! Repeat for the ends on the other side.

Then carefully insert your scissors in between the layers of the pom pom maker and start cutting. Continue cutting all the way around, being careful to tighten the knot you made in Step #7 as you go, securing the strands of yarn as they're released.


8. Finishing your pom pom

Once all the yarn has been cut, remove the cardboard. Turn your pom pom over and carefully find the knot. Tighten it as much as possible before knotting it again (at least once) to secure it.

Use your scissors to trim any long ends or uneven patches. Keep the two ends of the knot long if you're planning to attach it to a hat or other project.

That's it! Use the two long ends to secure your pom pom to a hat (if desired) and enjoy!
Note: These instructions are specifically for a multi-coloured pom pom. If you'd prefer to make yours a single colour you'll need about 40-45 yards of worsted or bulky weight yarn in your chosen colour and you can skip the layering steps (just keep wrapping back and forth with your main colour).

1 Response

Carmen
Another tip is to use a needle and weave the yarn you tied off with through the center a couple of times, to ensure the pompom won’t fall apart.
Leave a comment
Also in News

Our new Gavotte BFL worsted yarn

Toccata Organic Cotton: Yarn Notes and Pattern Ideas
We're very excited to bring you the first-ever 100% cotton Sweet Paprika yarn!
Like many of you, we really enjoy working with plant fibres as well as wool yarns, especially in the hot summer months. So we spent some time this past winter researching and sampling cotton and hemp yarn bases, and in the end we decided to bring in a small batch of Toccata, a sport-weight organic cotton.

Three books about sheep and fibre
Are you looking to deepen your knowledge of fleeces and fibres? Below, we introduce three books we carry that contain a wealth of information about different fibre-producing animals and sheep breeds, and the best ways to use their fleeces. We hope this selection will support you as you explore different ways to work with a wide array of animal fibres.
Subscribe
Sign up to get the latest on sales, upcoming events, new yarn, patterns and more...
+About Sweet Paprika
Sweet Paprika Designs offers high-quality materials for knitters and crocheters, with a focus on locally-sourced and sustainable products. Co-owners (and sisters) Debbie and Elizabeth create their own hand-dyed yarns, knitting kits and patterns in their Montreal dye studio and organize knitting and dyeing events in the community.
Debbie Sullivan
Author